Teaching
Resources
NanoStretcher
Christian Grippo S.M. Massachusetts Institute of Technology, April 2002
Introduction
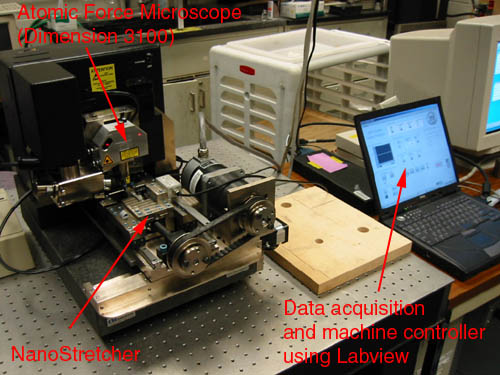
The NanoStretcher is a miniature material stretching device used in conjunction with an Atomic Force Microscope (AFM). The purpose of this machine in combination with the AFM is to perform in-situ testing that provides the stress-strain behavior and microstructural change observation of Nano-Composites Materials.
The machine is designed to test different types of material specimens with a wide range of stresses and strains (rubber polymers to high-strength Aramids)
Functional Requirements:
Compatible with a Digital Instrument Dimension 3100 Atomic Force Microscope
Wide range of displacements: up to 125 mm (500% for a 25 mm sample).
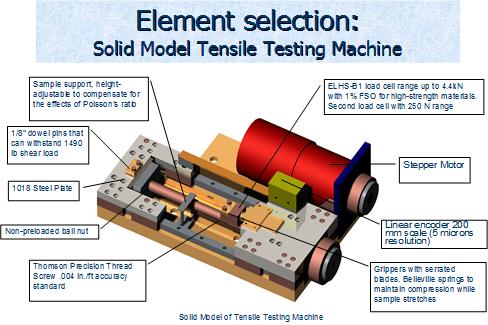
Wide range of loads: up to 4.4 kN
Resolution: 0.2 % strain (25 mm sample)
Center of sample remains fixed with respect to the AFM probe while it’s stretched
Easy sample set up
Friendly user interface
Safe to operate
Design Features
Strain: 500%, from 25 to 125 mm
Max load: 4.4 kN
Resolution: 5 microns (0.02 % strain at 25 mm)
Sample size (mm): 25 x 8 x 3 (L x W x t)
Interchangeable hardware coded load cells (4.4kN, 250 N and 20 N)
Hardware and software limit switches
Center of sample remains fix (opposite threaded ball screw).
Saved data can be used with a spreadsheet (Excel) or notepad.
The Control Software
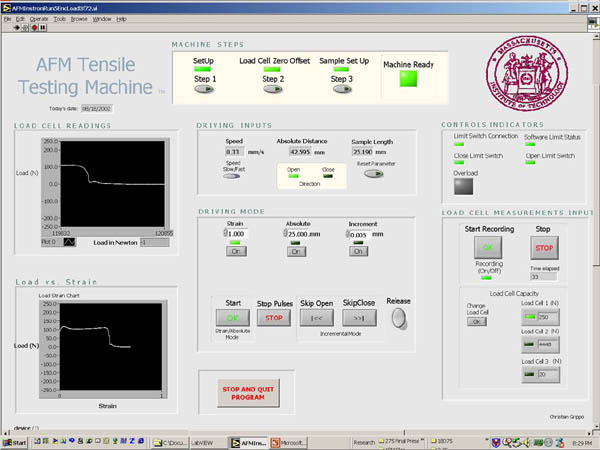
The NanoStretcher's controller is implemented in Labview 6 using two data acquisition (DAQ) cards: One PCI 6601 with 4 32-bit counter timers and 8 digital I/O channels as well as one PCMCIA DAQ Card with 8 digital I/O lines (5 V/TTL), and up to 16 analog inputs.
The software features a setup procedure to automatically find the linear encoder's reference mark. It also automatically identifes the load cell (20N, 250N or 4.4kN) and uses the appropriate calibration data as supplied by the load cell's manufacturer.
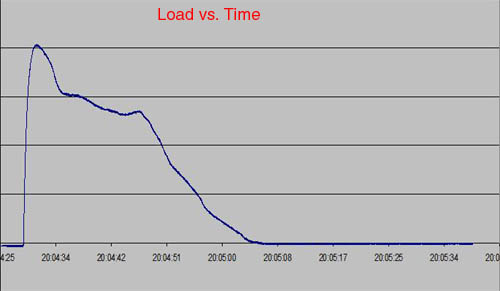
The control software also provides the user with real-time data concerning the stress and strain state of the sample. In particular, the Load vs. Strain graph can be used to identify the state of stress relaxation of the sample.
Data acquired by the system can be exported to other software tools such Notepad or Excel for more detailed evaluations.
Calibration Data
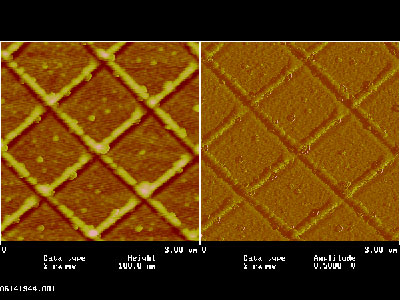
The Atomic Force Microscope (AFM) was calibrated by the manufacturer (Digital Instruments) using a calibration square with a grid size of 1 micron by 1 micron. Using the 50mm spacers required to provide enough height for the NanoStretcher and placing the calibration sample in the NanoStretcher, images identical to the original calibration images were obtained. This indicates that the noise introduced by the NanoStretcher is below the scanning resolution.
Sample Scans
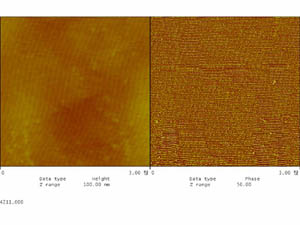
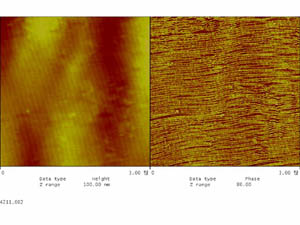
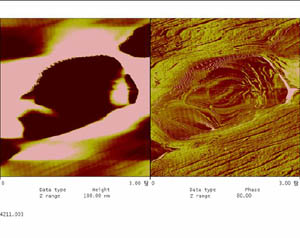
SIS Cylindrical Triblock Copolymer (25mmx6mmx0.8mm)
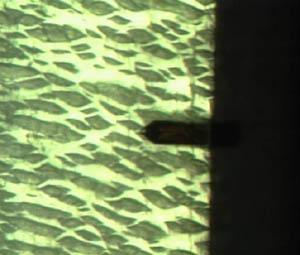
0% Strain 50% Strain 100% Strain 100% Strain (Optical Microscope) Publications
E. Bamberg, C.P. Grippo, P. Wanakamol, A.H. Slocum, M.C. Boyce, E.L. Thomas (2006). Device for in situ atomic force microscope mechanical testing. Precision Engineering, 30(1), pp. 71-84.
E. Bamberg, C.P. Grippo, A.H. Slocum, M.C. Boyce (2003). Design and manufacture of a tensile test machine for in-situ atomic force microscope mechanical testing. In: Proc. 2003 Euspen Conf., Aachen, Germany, May 19-20, 2003 (2), pp. 427-430.
E.L. Thomas, P. Wanakamol, Y.-H. Ha, C.P. Grippo, E. Bamberg, M.C. Boyce (2002). Main influence of grain boundaries on the deformation behavior of block copolymers. Materials Research Society Symposium, Boston, MA, Dec. 2-4, 2002 (734).
